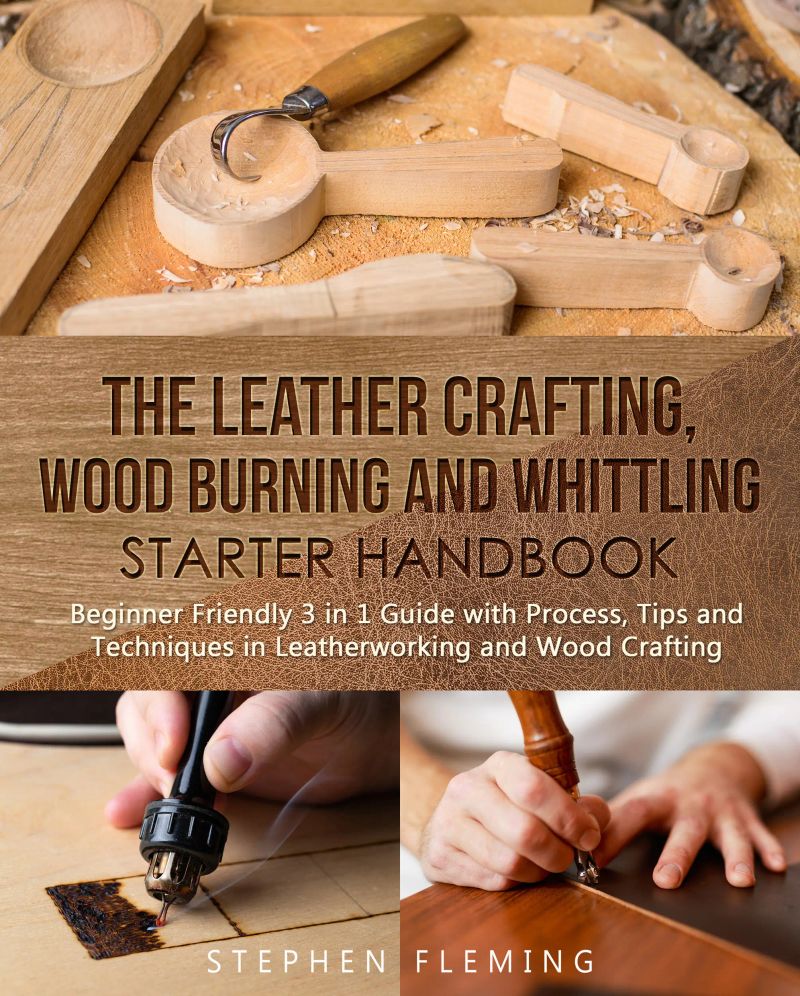
The Leather Crafting, Wood Burning and Whittling Starter Handbook
By Stephen Fleming
Length7h 20m
About this audiobook
Are you looking for hobbies that can be a favorite weekend pastime for young, old, and teens alike?
Well, you can get 3 of them in a single book:
Leather Crafting
Wood Burning
Whittling
We all need few hobbies to unwind, relax, and cut off from the routine chores and excessive technology (Digital Detox).
Also, whether you are young, old, or teen, across all age groups, these activities are required for different reasons.
Like for older lot, it’s about being active and busy, and for a younger lot, it’s about spending some time not thinking about work. For kids, it’s about cultivating a focused work ethic in one activity in the times of million distractions and longer screen times!
This book would present you with minimalistic and value-packed information on these three crafts, which would enable you to start and finish your first project.
About the Author
I am a Technology Consultant by profession and started my leathercraft and woodcraft journey in the year 2014. I started by going through multiple YouTube videos, courses, Facebook groups, and finally completed my first project after four months.
I was confused and was lost in the magnitude of information available online. I firmly believe that while starting, you need exact, necessary, minimalistic information to start your first project, pardon: Complete your first project!
So I started writing this book to provide a minimalistic approach to information required to start your first leather project. It covers:
Leather Crafting
History of Leather
Basics Tools and their usage
Making Patterns
Cutting Patterns
Gluing
Beveling, Embossing, Stamping
Stitching basics
Coloring and Finishing
Tips, Techniques for the beginner
Appendix: List of online resources available for free patterns, tips, and techniques
Wood Burning/Pyrography
Introduction to the art: The history and steps involved
Tools: All about tools required: Detailed instructions on using Wood Burner including different tips
Designing, Tracing, and Shading: I must say the shading part only comes by practicing!
Coloring, Polishing, and Finishing
Safety Instructions: Very important and highlighted all through the book
Step by Step instructions on 10 starter projects with pictures
Frequently Asked Questions (All the ones I could remember and not covered in other chapters)
Sample Designs: Mandala, Tiger, Dragon, and more.
Whittling
Introduction: History of Whittling, how it started and became part of popular culture.
Wood: All about the type of wood, grains, and tips for starting.
Tools: All about pocket and carving knives
Techniques: All type of cuts
Safety: Gloves, Thumb pads, duct tape, and other innovative options.
Starter projects with photos and step by step instructions
Frequently asked questions: 22 beginner questions as answered by experts: Multiple solutions to a single problem
List of online resources for patterns
Well, if you ever wanted to start your Journey in these crafts, this would be the perfect enabler and a guide for you.
Why?
Because I genuinely believe in the saying, “The best person to guide you is the one few steps ahead of you.”
So, what are you waiting for? Get this updated book and start your Journey Today!
Audiobook details
GenreOther, General Fiction
Length7 hrs 20 mins
Narrated byListen with 1,000+ voices
FormateBook with Audio
Publish dateMar 23, 2020
LanguageEnglish
Table of contents
1Beginner’s Roadmap
55Wood Selection for Pyrography
2TOP 3 BEGINNER PITFALLS: DON'T FALL INTO THEM!
56Is Wood Burning Easy For Beginners?
3History of Leather Crafting
57Pyrography Tips for Beginners:
4Leather Categories
58Details of Pyrography Pen/Burner Tips and Their Usages
5Leather Kinds
59Wood
Show all chaptersShow less
6Hide Dimension as well as Component
60The Wood Burner
7Picking a Veg Tanned Leather/Leather Grading
61Using the Wood Burner for the First Time:
8Introduction to Basic Tools
62Pyrography tool required along with a Wood Burner
9List of basic tools required for a beginner:
63Basic Techniques
10Sample Tools
64Making Strokes with a Wood Burner
11Setting Up a Leather Workstation
65Pyrography Shading: Tonal Values Boxes
12A sample workstation illustration
66Several Tips and Tricks for Shading
135 Tools for the Beginner Leather Crafter
67Finishing
14A Good Knife
68Wooden Dominoes Game
15Job Surfaces
69Key Holders
16Rulers
70Wooden Jigsaw Puzzles
17Burnishers
71Wooden Alphabet and Numbers
18How to make leather Patterns
72Coasters
19Patterning in Two Dimensions
73Wooden Tic-Tac-Toe Board
20Patterning in Three Dimensions
74Easter Eggs
21Sample Pattern Design for Leather Money Holder
75Wooden Key Ring/Key chain
22CUTTING LEATHER
76Leather Key Ring/Key chain (Leather Burning example)
23Cutting Leather with Scissors
77Wooden Spoon
24Cutting With X-Acto, Utility, or Craft Knives
78Wooden Mallard Duck
25Using a Cutting Wheel
79Cultural Views on Both Crafts
26Cutting straight lines freehand
80History of Whittling
27GOUGING AND FOLDING NATURAL LEATHER
81Tips for Whittling Wood
28Gouging
82Few Tips from Experts
29Folding
83Woods
30HOW TO THREAD A NEEDLE FOR STITCHING NATURAL LEATHER
84Basswood On The Working Table
31Saddle Stitch
85Which wood should I choose?
32COMPLETING SADDLE STITCH THROUGH BACKSTITCHING
86All about Knives
33NATURAL LEATHER HARDWARE: RIVETS
87How to Choose a Whittling Knife
34RINGS
88Maintaining Your Knives
35BUCKLES AND HOLDS
89Using a Handheld Sharpener
36Grommets
90Basic Cuts
37Among the first things you need to do is find out just how to get it sharp and also maintain it sharpness. Keep it polished to make sure that when you're working, it's not dragging in the leather and making it harder to manage.
91Holding the knife
38Natural leather is tanned with a range of oils and minerals, which can cause an accumulation on the knife and create rubbing when attempting to pull the swivel knife along the leather. By stropping the knife consistently with jeweler's rouge, you are brightening the blade to keep it working efficiently.
92Project 1: Christmas Tree
39The thing to note is that this is a fingertip-controlled device. When you're holding this device, what we teach to beginners is how to hold it; you hold it with just your fingertips. You position your forefinger right into the yoke with the very first knuckle and your thumb on one side. Your other fingers get on the opposite side. I have my ring finger on the side of the blade here. That's pretty much the grasp.
93Basic Whittling Process
40I let the side of my hand rest on the table or on the leather so that I obtain excellent equilibrium with it. You make the cuts by sticking just the corner of the blade right into the natural leather and drawing the knife in towards you. It gets its name, swivel knife because the body of the knife turns. That's what helps you in making nice, smooth, curving cuts. When you're making these swivel cuts, you do all of the revolving with your fingers that are along the side of the knife, and then you do all the lowering with the yoke, with the first finger that remains in the yoke.
94The Thumb Push Process
41I wish someone had told me that early, too. I've practiced a lot over the months, but if I’d had put in a lot of time and effort into practicing just how to use this tool properly, it sure would have made it a lot simpler. It would have made my projects better. It would have saved me a lot of frustration if I had practiced much more regularly on some scrap leather. Earlier leather instructors would have their trainees exercise swivel knife control as much as 30 minutes a day. After some experience, I understand why they began their trainees this way.
95Exactly How to Make Your Fir Tree
42If you’re not experienced enough, then work at it until you can make the knife cut the design it’s supposed to. The technique of holding a swivel knife is more important than the quality of the device itself. You have to invest time practicing.
96Project 2: Smiling Spirits
43Swivel Knife Maintenance
97Project 3: Chess Pawn
44Now let’s take an example of embossing an elephant picture:
98Project 4: Bonfire Fork
45Dyeing
99Project 5: Horse Chess Piece
46Using Antique Finishes
100Project 6: Egg
47Ending Up Natural Leather Edges
101Project 7: Mushroom
48What should be my first project/ which factors should I consider for my first project?
102Project 8: Wooden Spoon
49My First Project: Knife Sheath Explained
103Project 9: Forest Spirit
50Start the stitching by using two-needle saddle stitches. In saddle stitch, a needle is held in both the hands, and it passes each time you make a stitch. This creates a very strong stitch. Before we fold it, we give the welt loop area special attention and apply burnishing gum to the flesh side of the welt loop. Then buff it with a cloth and burnish it again to look cleaner and polished.
104Project 10: Wooden Boat
51Five skills you must know for leather crafting
105Project 11: Wizard
52Ergonomics for the Craft Expert
106Project 12: Hook Pendant
53Some Words of Wisdom from Pyrography Practitioners
107Project 13: Heart
54What's Pyrography? Brief History and Introduction
108Project 14: Birdie

Pacific Northwest Foraging Starter HandbookStephen Fleming1h 37m$5
The Medicinal Mushroom Starter HandbookStephen Fleming1h 47m$5

Manual de ebanistería para principiantesStephen Fleming1h 56m$5
The Mushroom Cultivation GuideStephen Fleming3h 39m$5
Manual de carpintería para principiantesStephen Fleming2h 4m$4
Marroquinería, Tallado y Pirograbado para PrincipiantesStephen Fleming7h 58m$7
Manual de tallado para principiantesStephen Fleming1h 58m$6
Manual de pirograbado para principiantesStephen Fleming2h 29m$6

Woodworking and Whittling for Kids, Teens and ParentsStephen Fleming3h 30m$7

Weekend Woodworking For Kids, Teens and ParentsStephen Fleming1h 34m$5

Weekend Whittling For Kids And ParentsStephen Fleming1h 17m$5
Cabinet Making for Beginners HandbookStephen Fleming1h 39m$5

The Woodworking, Wood Joinery and Woodturning Starter HandbookStephen Fleming4h 59m$8.60
Woodturning for Beginners HandbookStephen Fleming1h 36m$6
Wood Joinery for Beginners HandbookStephen Fleming1h 33m$5

Woodworking for Beginners HandbookStephen Fleming1h 48m$6

Pyrography for Beginners HandbookStephen Fleming2h 21m$7
The Leatherworking Starter HandbookStephen Fleming2h 54m$8

Kubernetes HandbookStephen Fleming1h 16m$3.60

The Book of Proverbs (2020 Edition)Brian Simmons4h 48m$10 · $0.00

PAW Patrol - Volume 16Unknown Author57m$7

The Holy Bible - 1 SamuelKing James2h 13m$3 · $0.00

KJV Holy BibleBroadStreet Publishing Group LLC96h 16m$10 · $0.00

Everyday Chanakya | Time Management S01E08Radhakrishnan Pillai42m$4

Bad Fat Black GirlSesali Bowen6h 32m$24 · $0.00

The King James Audio Bible New Testament CompleteChristopher Glyn20h 2m5 (1)$12 · $0.00
Faiths CheckbookCharles Spurgeon12h 44m$11 · $0.00

Be Wild Be FreeAmber Fossey26m$7 · $0.00

My Favorite Husband, Vol. 1Hollywood 360, CBS Radio5h 40m$14

Designing Terry Pratchett’s DiscworldPaul Kidby3h 52m$20 · $0.00
The Chosen Book OneAmanda Jenkins, Kristen Hendricks, Dallas Jenkins3h 8m$10 · $0.00

The Lives of BrianBrian Johnson9h 45m$29 · $0.00

The Boy, the Mole, the Fox and the HorseCharlie Mackesy58m$11 · $0.00

Expository Thoughts on the Gospel of LukeJ.C. Ryle27h 13m$18 · $0.00
CrossroadsKaleb Dahlgren7h 56m$26 · $0.00

Across the RiverKent Babb11h 40m$29 · $0.00

Brain Training for RidersAndrea Monsarrat Waldo5h 56m$19 · $0.00

My Effin' LifeGeddy Lee17h 11m5 (1)$40 · $0.00

Kings and PawnsHoward Bryant10h 9m$29 · $0.00

The Complete Works of Jane Austen (Unabridged)Jane Austen88h 8m$2 · $0.00

Beyond Temptation & Risky PleasuresBrenda Jackson10h 53m$24 · $0.00

Shōgun, Part TwoJames Clavell29h 16m$40

Showdown in the Big EasyCharles Tillman, Michael Anderle, Martha Carr7h 37m$23

Searching For ThanksgivingS.E. Smith4h 24m$20

Naughty 4Brenda Hampton7h 30m$17

The Dance with Me TrilogyShelley Shepard Gray21h 44m$35

The DopemanJaQuavis Coleman5h 25m$20

Sherlock Holmes: The Ultimate CollectionArthur Conan Doyle59h 49m$5 · $0.00
My Favorite Husband, Vol. 1Hollywood 360, CBS Radio5h 40m$14

WhistlerAnn Patchett10h 45m$29 · $0.00

Grand Opening 2Carl Weber9h 16m$20

Sons of Valor II: Violence of ActionBrian Andrews, Jeffrey Wilson12h 34m$23

Malevolent MagicMildred Abbott7h 13m$17

Look TwiceEva Hudson9h 48m$20

The Complete Books of F. Scott Fitzgerald (all his 5 novels + all 4 short story collections published during his lifetime)F. Scott Fitzgerald87h 53m$2 · $0.00

Bikes, Toys, and Hot BoyzGenesis Woods, Shantaé13h 9m$23

The Natchez Burning TrilogyGreg Iles96h 18m$53 · $0.00

War LordBernard Cornwell13h 21m$33 · $0.00

Ghetto BastardK’wan7h 37m$20
You may also like

"Trip to the Sunny South" in March, 1885L. S. D.1h 3m$2 · $0.00

A-Birding on a BroncoFlorence A. Merriam4h 37m$10 · $0.00

Memoranda on Tours and TouraineJ. H. Holdsworth3h 42m$1 · $0.00

Burton Island State Park: Guide to the Interpretive Nature Trail and Hiking TrailStephen Antil20m$2 · $0.00

A Truthful Woman in Southern CaliforniaKate Sanborn3h 40m$1 · $0.00

Round the WorldAndrew Carnegie9h 54m$1 · $0.00

Narrative of the Circumnavigation of the Globe by the Austrian Frigate NovaraKarl von Scherzer51h 34m$1 · $0.00
Fishing with the FlyVarious6h 30m$2 · $0.00

An Introduction to the History of ScienceWalter Libby21m$2 · $0.00

An Expedition to Mount St. Elias, Alaska (Illustrated Edition)Israel C. Russell6h 31m$1 · $0.00

The fish called NoKateryna Babkina12m$1 · $0.00

Brannon's Picture of The Isle of WightGeorge Brannon4h 10m$2 · $0.00

A Truthful Woman in Southern CaliforniaKate Sanborn3h 37m$1 · $0.00

Vertebrates from the Barrier Island of Tamaulipas, MéxicoRichard F. Johnston, B. J. Wilks, Robert K. Selander, Gerald G. Raun1h 28m$1 · $0.00

The zoology of the voyage of H.M.S. Beagle: MammaliaG. R. Waterhouse4h 53m$1 · $0.00

With a Camera in MajorcaMargaret D'Este5h 2m$2 · $0.00

Personal Narrative of Travels to the Equinoctial Regions of America (Vol.1-3)Alexander von Humboldt, Aimé Bonpland64h 9m$2 · $0.00

Yawnie the sloth comes to visitMarina B16m$1 · $0.00

In MoroccoEdith Wharton4h 53m$14

To Cuba and BackRichard Henry Dana5h 39m$1 · $0.00