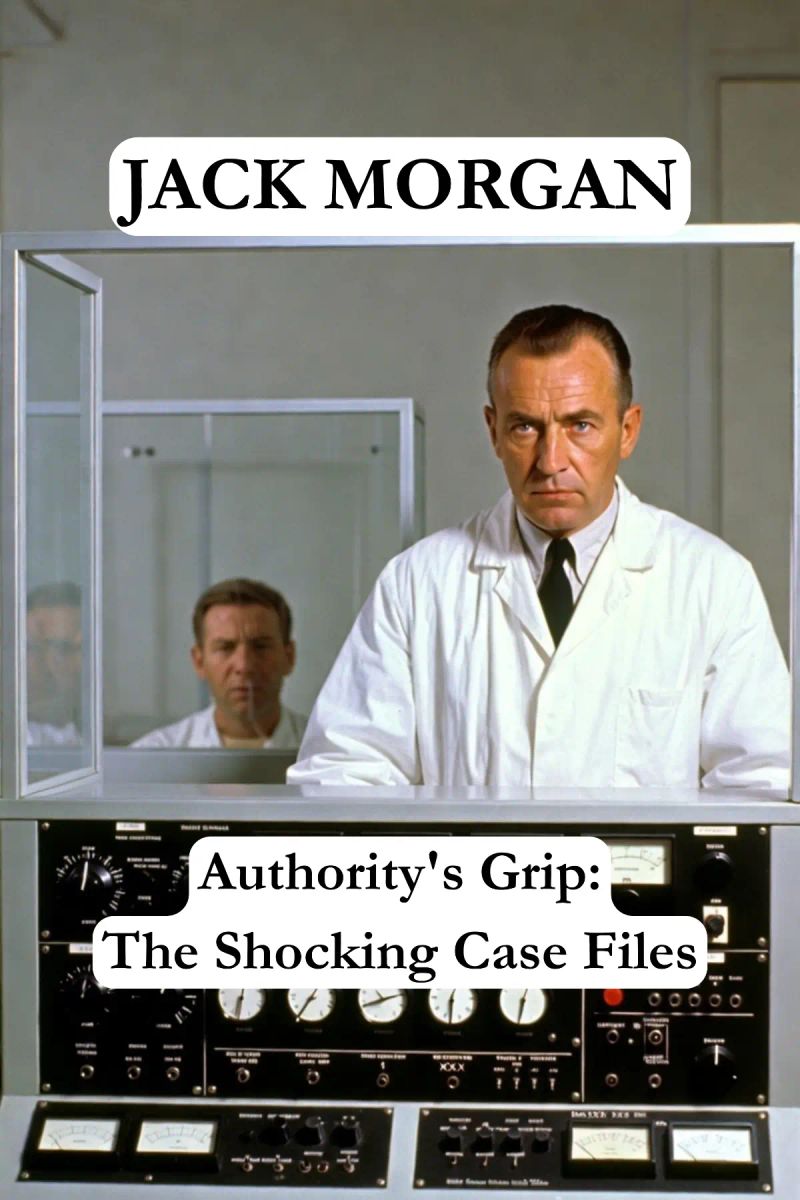
Authority's Grip: The Shocking Case Files
By Jack Morgan
Length1h 31m
About this audiobook
An intense, forensically detailed psychological investigation into the infamous Milgram Experiment. Uncover the mechanisms of obedience and the chilling ease with which ordinary people abandon morality when commanded by authority.
Audiobook details
GenrePsychology
Length1 hr 31 mins
Narrated byListen with 1,000+ voices
FormateBook with Audio
Publish dateNov 25, 2025
LanguageEnglish
Table of contents
1Chapter 1: The Anatomy of the Breaking Point
11Chapter 11: Zero Output
2Chapter 2: The Clinical Theatre of Obedience
12Chapter 12: Terminal Volitional Withdrawal
3Chapter 3: The Geometry of Control
13Chapter 13: Primary Conductor: Destination Primus
4Chapter 4: The 150-Volt Breach
14Chapter 14: Biometric Backlash
5Chapter 5: The Chimera Protocol
15Chapter 15: Phase Shift and Vacuum: The Counter-Protocol Lockdown
Show all chaptersShow less
6Chapter 6: The Zero Response Threshold
16Chapter 16: The Biometric Edge
7Chapter 7: The Atlas Collapse
17Chapter 17: Kinetic Transfer and Zero-Grip Failure
8Chapter 8: Phase VI Initiation
18Chapter 18: Breach of Protocol 7: The AEP Override
9Chapter 9: The Citrulline Paradox
19Chapter 19: Tier 4 Decompression
10Chapter 10: Rhythm of Non-Resistance
20Chapter 20: Cascade Failure: Zero Tolerance Protocol

The Unmade SisterJack Morgan1h 4m Only with Ultra

The Contagion of Absolute SilenceJack Morgan1h 3m Only with Ultra

Where Did the Nativity Go?Jack Morgan1h Only with Ultra

The Architects of BeliefJack Morgan1h 8m Only with Ultra

The Martian's ShadowJack Morgan1h 7m Only with Ultra

Van Gogh: Madman or Master?Jack Morgan56m Only with Ultra

The King of Pop's Final HoursJack Morgan59m Only with Ultra

The Cellular ThirstJack Morgan1h 27m Only with Ultra

Diana's Last Midnight: Minute by MinuteJack Morgan56m5 (1) Only with Ultra

Caesar's Final Hour: Real-Time AccountJack Morgan59m Only with Ultra

Ali's Ghost: The Undefeated LossJack Morgan56m Only with Ultra

The Captive Mind: Why We Love Our AbusersJack Morgan1h 19m Only with Ultra

The Villain Inside EveryoneJack Morgan1h 18m Only with Ultra

Brand Autopsy: PR Disaster FilesJack Morgan1h 23m Only with Ultra

Beauty’s Unfair Advantage: The Halo EffectJack Morgan1h 18m Only with Ultra

The Silence That Eats the WorldJack Morgan1h 29m Only with Ultra

Zodiac: The Lies I ToldJack Morgan1h 25m Only with Ultra

The Echo Chamber EffectJack Morgan1h 19m Only with Ultra

Sleep Paralysis: Night Terror ScienceJack Morgan1h 21m Only with Ultra

You Haven't Lived This Before, IdiotJack Morgan1h 19m Only with Ultra

Bad Fat Black GirlSesali Bowen6h 32m$24 · $0.00

Finding Your VoiceMannette Morgan8h 10m$20

Invisible StormJason Kander6h 48m$24 · $0.00

I've Been to the MountaintopMartin Luther King48m5 (1)$11 · $0.00
Ullathin KuralPrem Rawat8h 17m$18 · $0.00

I Am The StormJanice Dean9h$8 · $0.00

On Democracies and Death CultsDouglas Murray10h 38m$29 · $0.00

TerraformPropaganda5h 39m$24 · $0.00

Hour of the HeartIrvin D. Yalom, Benjamin Yalom8h 19m$26 · $0.00

The Thomas Sowell ReaderThomas Sowell14h 51m$25

So You Want to Talk about RaceIjeoma Oluo7h 41m$17

Braving the TruthRachel Held Evans11h 31m$29 · $0.00
Level UpRob Dial7h 42m$26 · $0.00

As a JewSarah Hurwitz8h 36m$26 · $0.00

The North American Indian (Illustrated Edition)Edward S. Curtis, Frederick Webb Hodge6h$2 · $0.00

Burn the HaystackJennie Young, PhD9h 30m$29 · $0.00

Good InsideBecky Kennedy9h 55m$29 · $0.00

Du Bois: EssaysW.E.B. Du Bois6h 23m$1 · $0.00

Valley of the BirdtailAndrew Stobo Sniderman, Douglas Sanderson10h 1m$29 · $0.00
Lies My Therapist Told MeGreg E. Gifford9h 3m$29 · $0.00
You may also like

BlacklistAlyson Noel10h 17m$29 · $0.00

Drug of ChoiceMichael Crichton writing as John LangeTM5h 42m$20

Tough Justice: Countdown (Part 4 of 8)Emmy Curtis2h 58m$18 · $0.00
The Thinking Machine at WorkJacques Futrelle9h 30m$20

ChaosPatricia Cornwell13h 2m$33 · $0.00

Don't Wake UpLiz Lawler10h 10m$29 · $0.00

Final DealTed Tayler7h 25m$14 · $0.00

The Midnight Show MurdersAl Roker, Dick Lochte8h 40m$23

Adverse EffectsJoel Shulkin MD9h 10m$20 · $0.00

SeizedElizabeth Heiter9h 55m$25 · $0.00

Greatest Mystery Novels of Wilkie Collins (Illustrated)Wilkie Collins153h 51m$2 · $0.00

Most Dangerous PlaceJames Grippando12h 9m$29 · $0.00
No ImmunitySusan Dunlap8h 22m$13 · $0.00

Dead Girl RunningChristina Dodd9h 29m$29 · $0.00

Sicken and So DieSimon Brett5h 3m$14

The Dreaming TreeMatthew Mather11h 4m$23

The Twist of a KnifeAnthony Horowitz8h 31m$26 · $0.00

ReaperBen Mezrich2h 48m$18 · $0.00

The Delta Devlin Collection, Books 1–3Matthew Mather30h 55m$30

Tough Justice: Countdown (Part 5 of 8)Janie Crouch3h 13m$18 · $0.00